Does a leaking bottle always mean cap torque is too low?
No. Cap or neck geometry, incomplete thread engagement, damaged sealing surfaces, tilted application, container deformation, handling and the test method can all contribute.
Evidence-led closure and seal diagnosis
A leaking or difficult-to-open water bottle may reflect the cap, bottle finish, feed path, capping head, container support, fill condition or test method, so torque alone should never be treated as the complete diagnosis.
Direct answer
Define the failure by leak condition, opening behavior, cap appearance, tamper-band condition, capping position, time and material lot. Safely stop and isolate the capper before guarded inspection, and contain affected product. Keep the approved bottle and closure specifications fixed while isolating cap supply, neck finish, feed orientation, change parts, capping components and conveyor handling. Use the project-approved leak and torque methods with suitable instruments, retaining position and sequence data. A qualified technician should correct only the supported cause, then the team should repeat sealing, opening and downstream handling checks under the same documented test basis.
System focus 01
Avoid grouping every closure complaint under low torque. Record whether leakage appears immediately, after conveyor handling, during an approved test, or only on a particular bottle orientation. Observe tilted caps, incomplete thread engagement, cap height, visible neck damage, tamper-band condition, scuffing and opening behavior without forcing an unsafe test. Trace each sample to the cap lot, bottle or preform lot, product format, capping head or station, time and operating event where possible. Retain unopened control samples as well as failures. This pattern helps distinguish a material mismatch, feed problem, position-specific application issue, container support problem or test inconsistency before anyone changes the capper.
System focus 02
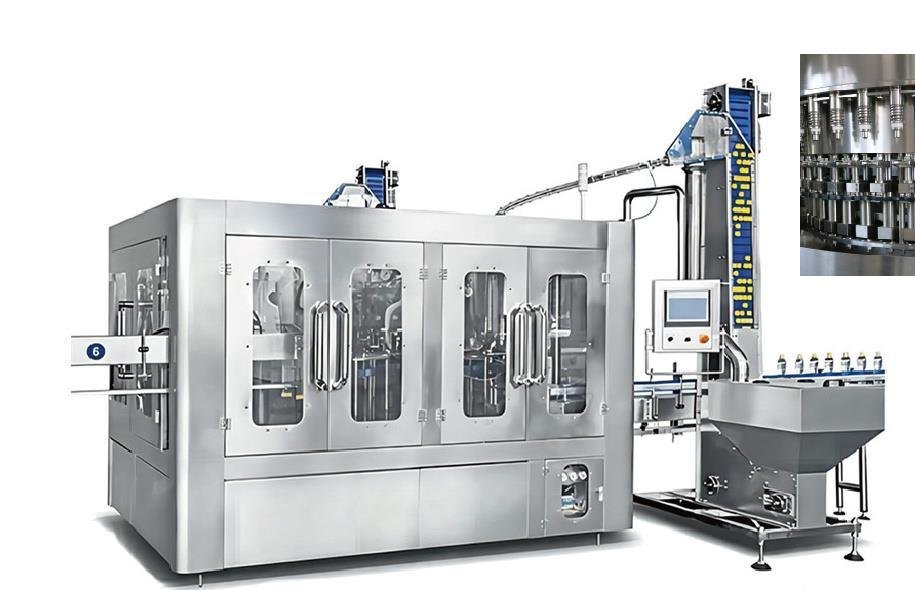
Cappers contain rotating heads, moving star wheels, cap elevators, chutes, electrical drives and pinch points. Follow the approved stop and energy-isolation procedure before entering guarded areas, clearing a cap path or touching a head. Do not bypass interlocks or reach into moving equipment to catch a sample. Product-contact or closure-contact parts exposed during inspection must be handled under the site hygiene procedure. Identify the production window since the last acceptable seal check and segregate it for quality disposition. A widespread leak, damaged necks, broken parts, abnormal motion or an unexpected pressure condition calls for trained technical and quality review rather than continued production or an improvised setting change.
System focus 03
Verify that the cap part, dimensions, material, liner where applicable, tamper feature, storage condition and lot match the approved specification. Confirm bottle neck drawing, thread, support ring and visible condition, including whether the issue follows onsite blowing or purchased bottles. Inspect cap orientation, elevator and chute behavior through authorized methods, and check whether dust, deformation or mixed caps are present. Match the installed capping head parts, container guides and recipe to the selected format. Review bottle support, transfer, fill level and downstream contact because a sound closure can be disturbed after application. Hold the other variables stable while one input family is assessed.
System focus 04
Use the project quality plan to define the leak method, conditioning, sample handling, torque instrument and measurement sequence. Opening or removal torque is not automatically the same as application torque, and results depend on elapsed time, temperature, handling and the specific closure design. Verify instrument status and operator technique, then sample across capping positions and production time. Correlate torque, leakage, cap height, thread engagement and band observations rather than accepting one number in isolation. Compare results with the approved closure and machine records; do not import a universal torque target from another cap. Review head wear, spring or magnetic components, chucks, guides and bottle support only under authorized maintenance instructions.
System focus 05
A qualified person should clean, repair, replace or restore the confirmed cap, feed, tooling, support or control issue using approved parts and instructions. If cap or product-contact pathways were opened, complete the required hygiene release. Restart with identified caps and bottles, then repeat the original test plan across relevant capping positions and time intervals. Include ordinary conveying, inspection, labeling, packing and an approved handling simulation because some leaks appear only after the bottle is transferred. Confirm that the correction does not create over-tight opening behavior, tamper-band damage or new bottle deformation. Record held-product disposition, corrective evidence and the frequency of follow-up checks before closing the investigation.
Closure diagnostic path
Preserve closure, bottle, capping-position and conditioning evidence from complaint to retest.
Record leak condition, cap appearance, band state, opening behavior, head position and lots.
Isolate moving equipment, protect hygiene and hold the affected production window.
Separate cap, neck, feed, format parts, bottle support and downstream handling.
Use approved leak and torque methods with consistent timing and position traceability.
Apply one supported action and repeat sealing and downstream handling checks.
Use the approved closure specification, machine manual and quality procedure. This diagnostic path does not prescribe a universal torque or leak-test setpoint.
Buyer questions
Use these answers as a project-planning starting point. Final equipment and performance remain subject to the confirmed brief.
No. Cap or neck geometry, incomplete thread engagement, damaged sealing surfaces, tilted application, container deformation, handling and the test method can all contribute.
No. Closure design, material, neck finish, measurement method, conditioning and product requirements differ. Use the approved project specification and closure-supplier evidence.
A repeating position pattern can reveal head, chuck, guide or bottle-support issues that disappear when results from all positions are averaged together.
Follow the approved procedure. Elapsed time and conditioning can affect results, so the sampling time must be recorded and kept consistent for a valid comparison.
Deep technical guides
Each guide answers one narrower project question and links the result back to complete-line scope.
Cap torque SPC distinguishes a stable closure-application process from random measurement noise and special causes; it does not turn an arbitrary torque target into a valid closure specification.
Capacities, process routes, layouts, utilities and equipment shown on this site are decision frameworks and reference examples. They are not a final specification, performance guarantee or offer. Confirmed scope and performance are defined in the signed technical and commercial agreement.
Allot Tech project desk
Share the source water, bottle, target output, pack format, factory status and destination. We will use them as the basis for a project-specific configuration discussion.